

Google Analytics is a web-based application from Google for measuring your website performance.
Installing google analytics on WordPress is one of the key tasks that website owners look to do after starting their site.
It helps in measuring different parameters related to Website performance.
These parameters indicate how you are performing on different scales.
Before getting to know how to install Google Analytics on WordPress,let us see why is it needed.
What does Google Analytics tell you about your website performance?
It gives you a measure of the website traffic. You can see various stats related to the traffic. These stats help in getting to know your users and their location. You get to know the average time a user spends on your site. It tells you which pages have been visited and the number of times they have been visited. Also, you get to know whether they are new or returning visitors. All of this information can be used to make an informed marketing decision. These help in further enhancing your website content and structure to make it, even more, user-friendly.
In short, you get to know your focus areas. Let us see of these areas that you will get to know.
- As you figure out your focus areas, you can boost them through an appropriate strategy.
You can filter out the locations and devices users use to reach you and figure out the bottlenecks. - It gives a technology overview of your visitors. you can figure the visitors from the web, mobile, and tablet.
It gives an idea about the browser users are using to visit your website. So you get to know how your
website is performing on different technologies. You can further build on that. - You get to know the average user engagement time. It is further divided into pages, screens, and event types.
- It is capable of telling you about your eCommerce and affiliate transactions and conversions.
Let us see some of the ways in Google analytics can be installed on WordPress.
It can be done with the help of plugins easily. Also, you can do it manually which requires pasting the analytics code
in your theme file. Let us see both of the ways.
Installing Google Analytics with the help of Plugins.
1. Google Site Kit.
Google Site Kit is the official Google WordPress plugin for tracking and analyzing website traffic. It shows all the information of the various stats in one place in the WordPress dashboard. No code editing is required on your part. Let us see how to install and activate it.
1. Click on Plugins-->Add New.
2. In the search Plugins box enter Google Site Kit or Google Analytics and search it.

3. Click on Install Now to install the plugin.
4. Click on Activate to activate the plugin.

5. Click on Set up and provide access to the google account related to your domain.
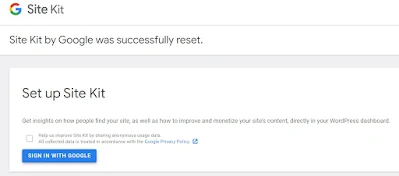
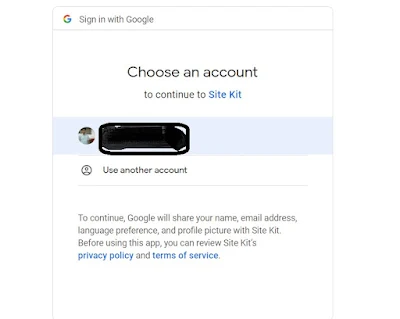
6. Click with Sign in With Google.

7. Select Your Google account.
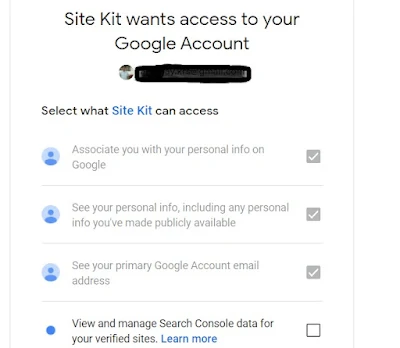
8. Select What Site Kit can access, give all the access and click on continue.
9. Click on Allow to allow your domain to access your Google data.
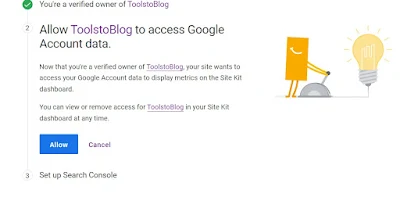
10. Now Site Kit is connected to Your Dashboard and Your analytics account.


11. If you still see that it is not connected, click on connect service and again provide the access to your google account. Now it will show connected and will display all your data in the WordPress Dashboard. Sometimes when you have installed the plugin and successfully activated it. And then you deactivate it and delete it and reinstall it, it might show you an error(invalid parameter: ‘client_id’) in displaying the analytics data.
In that case, follow the below steps.
12. Click on Settings in Google Site Kit.

13. Click on Admin settings and click on Reset Site Kit and follow from step1 to step11 again.
2. GA Google Analytics
GA Google Analytics is a plugin by Jeff Starr. It enables analytics tracking by just mentioning
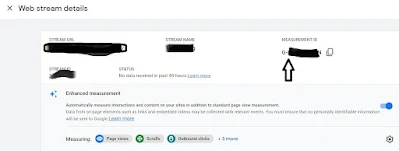
your google analytics account tracking ID. You can get your tracking id or measurement id from your Google Analytics account as follows.
i)Login into your Google Analytics account.
ii)Click on Data streams and copy the measurement id.
iii)Now install the GA Google Analytics plugin from the WordPress plugin store and activate it.
iV)Click on settings-->GA Google Analytics.
v)Click on Plugin Settings.
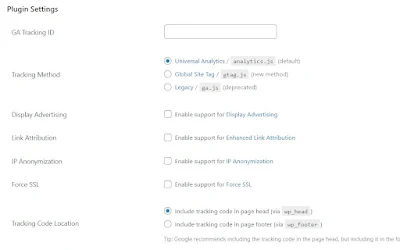
vi)Enter the measurement id in the GA Tracking id field.
vi) Select the location of the tracking code that is in the header or footer.
vii)Click on save changes and it's done.
Now it will fetch all your Analytics tracking data in your WordPress dashboard.
3. Manually insert the Analytics tracking code.
For CMS-based sites like WordPress Google Analytics provides a global site tag which you can copy
and paste in your header or footer. Let us see how to do that.
i)Login into your Google Analytics account.
ii)Click on Data streams and click on add a new on-page on-page tag.
iii)Copy the code.
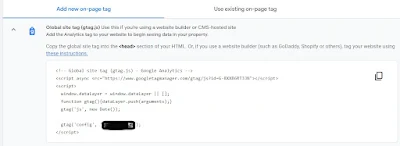
iV)Open your themes header.php and copy this code in your header in the head section.
place it between <head> and </head> and click on save changes.

It's done and now your tracking is enabled and can be viewed in your google analytics account.
Please also go through
Post a Comment